Why a Radon Reduction System Matters for Your St. Louis Home
When I first moved to St. Louis, I thought radon was one of those problems that only happened in basements out east or in older farmhouses. I was wrong. After a routine home inspection turned up elevated levels, I started digging into what a radon reduction system actually involves and why it matters for homes in this region. What I found changed how I think about indoor air quality entirely.
Radon is a radioactive gas that comes from the natural decay of uranium in soil. It seeps into homes through cracks in foundations, gaps around pipes, and even through sump pump openings. The EPA estimates that radon causes thousands of lung cancer deaths each year, and the American Lung Association lists it as a major environmental health risk. The good news is that testing is straightforward and mitigation is highly effective when done correctly.
How Radon Gets Into Your Home
Radon moves from the soil into your living space because of pressure differences. The air inside your house is usually at a slightly lower pressure than the soil outside, so gas gets pulled in through any opening it can find. Common entry points include floor drains, construction joints, and the gap around the sump pump in a basement. Even homes with slab-on-grade foundations can have problems if the concrete has settled or cracked over time.
In St. Louis, the geology includes glacial deposits and limestone bedrock that can contain varying amounts of uranium. The Missouri Department of Health has published maps showing that many counties in the region have moderate to high radon potential. That doesn’t mean every home will test high, but it means skipping testing is a gamble you don’t want to take.
Testing Comes First
Before you can decide on a radon reduction system, you need to know your baseline. A radon test kit is the simplest way to start. You can buy short-term kits at hardware stores or order long-term kits online. Short-term tests stay in place for two to seven days and give a quick snapshot. Long-term tests run for three months to a year and provide a more accurate average because radon levels can fluctuate day to day and season to season.
For a more detailed picture, some homeowners use a continuous radon monitor. These electronic devices plug into a wall and record readings over time. They cost more upfront but can help you see patterns, like whether levels spike during certain weather or after heavy rain. If your test results come back at or above the EPA action level of 4 picocuries per liter, it’s time to plan a mitigation strategy.
What a Radon Reduction System Includes
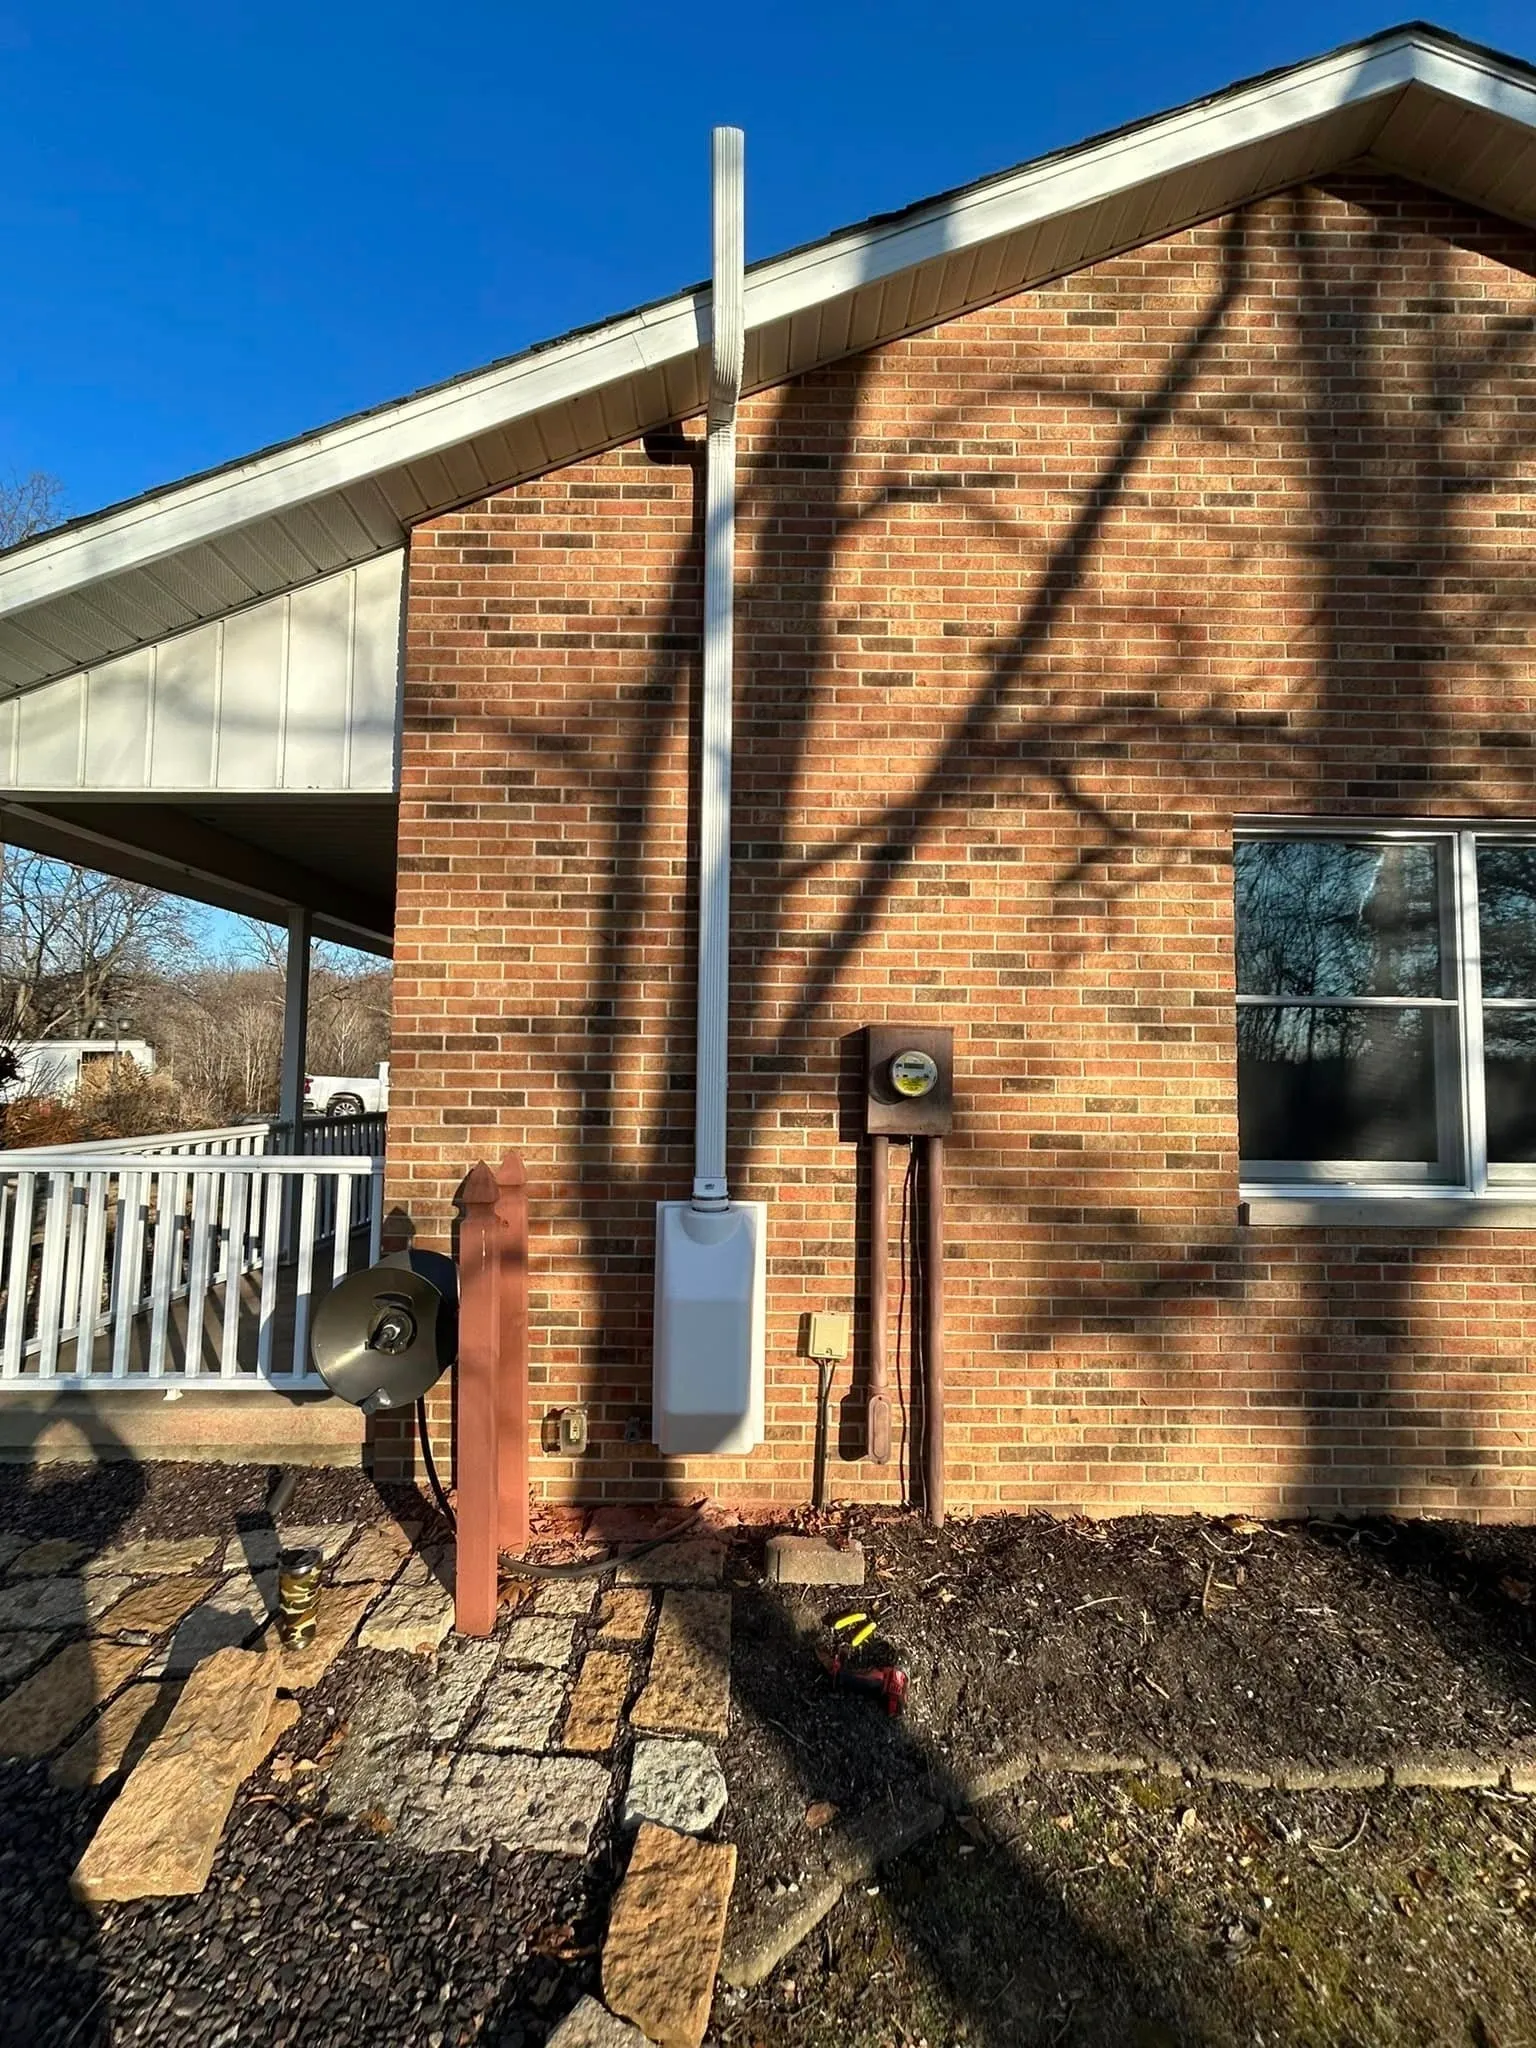
A properly designed radon reduction system typically uses active soil depressurization. This is the most common and effective method for homes with basements or slab foundations. The idea is to create a vacuum beneath your house that pulls radon-laden air out from under the slab and vents it safely above the roofline, where it disperses harmlessly into the atmosphere.
The core of the system is a fan that creates suction. The fan connects to a pipe that goes through the slab or sump pump opening and into the gravel layer below. That pipe runs up through the house and out the roof. The fan itself is usually installed in an attic or outside the living space to keep noise to a minimum. Many systems use a RadonAway fan because they are built for continuous operation and low power consumption.
Sealing all the openings in your foundation is a critical part of the process. Without sealant, the system has to work harder and might not achieve the pressure difference you need. Polyurethane caulk is a common choice for filling cracks and gaps around pipes because it sticks well to concrete and stays flexible as the house settles. You also want to seal around the sump pump cover and any floor drains that aren’t in use.
Sub-Slab Depressurization in Detail
Sub-slab depressurization is the technical term for what most radon mitigation systems do. A contractor drills a hole through the basement floor, digs out a small cavity, and installs a pipe that connects to the fan. The fan pulls air from under the slab, creating a low-pressure zone that prevents radon from being drawn into the house. The pipe runs vertically through the house and exits above the roofline.
This method works best when the soil under the slab is permeable enough to allow air movement. In some homes, the contractor might need to install multiple suction points or use a larger fan. The key is to design the system so it doesn’t interfere with other mechanicals like the sump pump or drainage tile. A good installer will test the system after installation to make sure the pressure field extends across the entire slab.
Post-Mitigation Verification
Once the system is running, you need to verify that it’s actually reducing radon levels. Post-mitigation verification involves retesting the air in your home after the system has been operating for at least 24 hours. Many contractors include this as part of the installation, and some offer a mitigation guarantee that promises results below the EPA action level. If the system doesn’t bring levels down, the contractor should come back and adjust the design.
A manometer is a simple device that shows whether the fan is maintaining proper suction. It looks like a small U-shaped tube filled with colored liquid. When the fan is running, the liquid sits at different heights on each side, and that difference tells you the pressure drop. Checking the manometer every few months is a good habit. If the levels equalize, it means the fan has stopped or the pipe is blocked, and you need to call for service.
Some systems also come with a fan monitoring device that alerts you if the fan stops working. These are especially useful if the fan is in an attic or other out-of-the-way location. Without a monitor, you might not notice a failure for weeks or months, and radon levels could climb back up without you knowing.
Radon-Resistant Construction for New Homes
If you’re building a new home, radon-resistant construction is much cheaper than retrofitting later. The approach is essentially the same as active soil depressurization, but you install the piping and gravel layer during the foundation work. A layer of clean gravel goes under the slab, then a vapor barrier, then the concrete. A pipe stub runs up from the gravel to the attic, where a fan can be added later if needed.
Even if your initial test shows low radon levels, installing the passive system during construction is a smart investment. Soil conditions can change over time, and homes settle. Having the stub in place means you can add a fan and complete the radon reduction system without major renovation. The cost is a fraction of what you would pay to retrofit a finished basement.
Choosing a Mitigation Contractor
Not all contractors are trained to install radon mitigation systems. Look for someone who is certified by the National Radon Proficiency Program or similar credential. They should do a site visit, take measurements, and design a system specific to your home. A generic quote over the phone is a red flag. The contractor should also explain how they will handle the sump pump if you have one, because the system has to work around it without compromising drainage.
In the St. Louis area, Air Sense Environmental has a strong reputation for thorough testing and installation. They use quality components like RadonAway fans and polyurethane caulk, and they follow up with post-mitigation verification. They also provide a mitigation guarantee, which gives homeowners peace of mind that the investment will pay off.
Maintenance and Long-Term Considerations
A radon reduction system is not a set-it-and-forget-it solution. The fan has a lifespan of five to ten years, depending on the model and how many hours it runs. Replacing it when it wears out is essential. You also need to check the manometer periodically to confirm suction is holding. If you notice the reading change, inspect the pipe for damage or blockages.
Sealants can dry out and crack over time. A tube of polyurethane caulk is cheap, and touching up gaps around pipes or along the foundation wall every few years keeps the system efficient. If you finish a basement after the system is installed, make sure the contractor vents the pipe through a chase or closet so it doesn’t get buried behind drywall.
Retesting every two to three years is a good idea. The EPA recommends testing every two years, especially if you make structural changes to your home. Radon levels can change after earthquakes, new construction nearby, or changes in the water table. A simple radon test kit or a continuous radon monitor can tell you if your system is still performing.
Final Thoughts on Radon Mitigation
Radon is a serious health risk, but it’s also a manageable one. Testing is easy and cheap. If levels are high, a radon reduction system can bring them down to safe levels reliably. The process involves careful design, proper installation, and ongoing maintenance, but the payoff is a healthier home for your family.
I’ve seen homes where a simple sub-slab depressurization system cut radon levels from over 20 picocuries per liter to below 2. That’s a dramatic reduction. The American Lung Association and the EPA both emphasize that mitigation is the only way to fix a radon problem once it’s found. Opening windows or using air purifiers won’t do it. You need a system that addresses the source: the soil beneath your home.
If you live in St. Louis or anywhere with similar geology, don’t assume you’re safe. Get a test, talk to a qualified contractor, and invest in a system that protects your indoor air. It’s one of the few home improvements that directly impacts your long-term health.